



Binance and Trust Wallet User Guide: A Detailed Explanation of Asset Transfers and Revoking Authorization
As the cryptocurrency ecosystem continues to evolve, users are placing increasing importance on the self-management and security of their digital assets. This article will provide a detailed guide on how to securely transfer crypto assets from the centralized exchange Binance to the decentralized wallet Trust Wallet, and explain how to manage and revoke token authorizations on the blockchain to enhance the security of your assets.
I. Transferring Assets to Trust Wallet
Trust Wallet is a widely popular decentralized digital wallet that gives users full control over their private keys and digital assets. Transferring assets from Binance to Trust Wallet means you will have full control over these assets.
Preparations Before Transferring
- Ensure you have downloaded and installed the official Binance and Trust Wallet apps on your mobile device.
- If this is your first time using Trust Wallet, be sure to create a new wallet and securely back up its mnemonic phrase (recovery phrase). It is strongly recommended that you write it down on paper and keep it in a safe place; never back it up via screenshots or by storing it on a device connected to the internet.

Get Your Trust Wallet Receiving Address
- Open the Trust Wallet app and go to the “Assets” or “Wallet” page.
- Select the cryptocurrency you wish to receive, such as Bitcoin (BTC), Ethereum (ETH), Tether (USDT), or BNB.
- Tap the “Receive” or “Deposit” button.
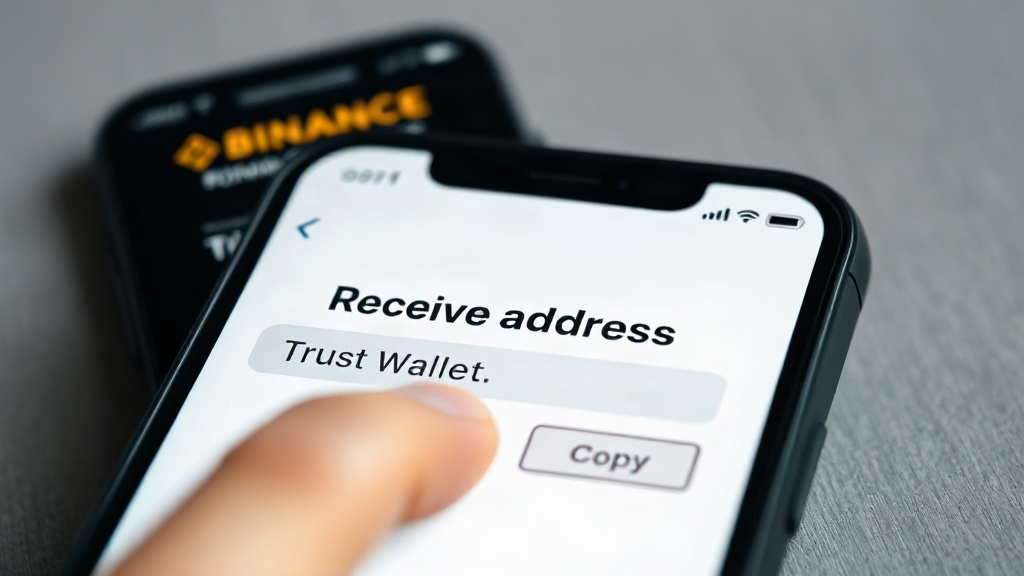
- Copy the displayed wallet address. To avoid manual entry errors, be sure to use the copy-and-paste function.
Withdraw from Binance
- Log in to your Binance account (via the app or website).
- Go to the “Wallet” > “Spot” section and locate the cryptocurrency you want to send.
- Click the “Withdraw” option.
- Paste the receiving address you copied from Trust Wallet into the “Recipient Address” field.
- Select the correct network: This is a critical step in the withdrawal process. For example, when sending BNB, select the BEP20 (BNB Smart Chain) network; when sending ETH or ERC20 tokens, select the Ethereum network. Be sure to verify that the network supported by Trust Wallet exactly matches the network selected on Binance; otherwise, you may permanently lose your assets.
- Enter the amount you wish to transfer.
- Complete the verification process required by Binance, such as entering your fund password, an SMS verification code, or a Google Authenticator code.
- Confirm the transaction.
Wait for confirmation.
Depending on the cryptocurrency you’ve chosen and network congestion, funds will typically appear in your Trust Wallet within a few minutes. Before making a large transfer, it’s recommended to first conduct a small test transfer to verify the accuracy of the entire process. You can check real-time prices and network status for the relevant cryptocurrencies on market data platforms like Svmuu to help estimate the transaction confirmation time.
II. Revoking Permissions
Blockchain authorization (Token Approvals) refers to granting permissions to an External Owned Address (EOA), a decentralized application (dApp), or a smart contract, allowing them to spend, transfer, or perform specific actions on your behalf. While this is a necessary step for interacting with DeFi and DEXs, improper management may pose security risks.
Risks and Importance
- Granting permissions to dApps or smart contracts is a common practice when participating in DeFi and decentralized trading.
- If you grant “Unlimited Approvals,” the authorization remains active even if you disconnect your wallet. If an authorized dApp or smart contract is compromised or acts maliciously, your assets may be at risk of theft.
- Regularly reviewing and revoking authorizations that are no longer needed is crucial for protecting the security of your funds.
Revoking Authorizations in the Binance Web3 Wallet
- Open the Binance app and go to “Web3 Wallet.”
- On the wallet homepage or the “Discover” page, locate and tap “Authorization Management” or a section labeled “Connected Sites” or “Permissions.”
- View the list of all active authorizations, including authorized tokens, dApps, and access permissions.
- Select the dApp or smart contract for which you wish to revoke permissions.
- Tap the “Revoke” or “Remove Permissions” option.
- Confirm the transaction; this action typically requires a small network fee (gas fee).
- Once the transaction is complete, the dApp or smart contract will no longer have access to your assets.
Revoking Permissions in Trust Wallet
- Open the latest version of the Trust Wallet app.
- In the Assets section, select the “Approvals” tab.
- Review your list of active authorizations.
- Tap “Revoke” next to any dApp you no longer trust or that has been flagged as risky.
- Confirm the transaction and pay the corresponding network fees.
- In addition, Trust Wallet supports connecting to third-party tools such as Etherscan via the “Settings” > “WalletConnect” feature for authorization management.
General Authorization Revocation Tools
In addition to the wallet’s built-in features, you can use general-purpose third-party tools to manage and revoke authorizations, such as Revoke.cash, Etherscan’s Token Approval Checker, or BscScan’s Token Approval Checker. The typical steps are as follows:
- Visit the authorization management website.
- Enter your wallet address.
- Connect your wallet.
- Select the contract you want to revoke.
- Click “Revoke” and confirm the transaction.
Important Notes
- Revoking authorization is an on-chain transaction, so you will need to pay the corresponding gas fees.
- Disconnecting your wallet and revoking authorization are two distinct actions. Disconnecting simply means the website can no longer view your address, but the previously granted authorization remains active.
- We recommend avoiding setting unlimited limits when granting permissions; instead, set specific limits and timeframes whenever possible to reduce potential risks.